A detailer's guide to wall panel edge finishing, covering exposed ends, internal and external corners, door frames, skirting, ceilings, mirrors, stone and material transitions.
The centre of a decorative panel wall is usually the easy part. The edges reveal the quality of the design. A panel may look impressive across three metres and still feel unfinished where it meets a door, ceiling or outside corner. That is why wall panel edge finishing should be drawn before installation begins.
This guide works like a detailer’s dictionary. Each junction has a different visual problem. The exact solution depends on the selected product and installation system, so use the Mark Decor Fresco Panels category and a current Fresco Panels collection as the product reference while developing the details.
Edge type: exposed vertical end
This occurs when a panel feature stops in the middle of a wall. The end can be terminated with a system-specific trim, an end profile, a framed border or a clean transition to another material.
What should be avoided is an accidental raw edge that was never considered in the elevation. Decide the visual thickness and colour before cutting.
Edge type: inside corner
An inside corner can either continue the panel onto the adjacent wall or stop on one side. Continuing creates a wrapped, immersive effect. Stopping creates a more defined feature.
If the panel wraps, check how grooves or pattern alignment behave around the corner. If it stops, decide whether the termination sits exactly at the corner or slightly before it with a plain border.
Edge type: outside corner
Outside corners receive more visual and physical attention because their edges project into the room. The design may use a dedicated corner trim, mitred treatment or another system-specific detail.
Do not improvise after both walls are already clad. Confirm the corner method and build-up in advance.
Edge type: panel meeting a door frame
Door frames create a strong vertical line. Align the panel module so the final cut beside the frame is intentional. A 15 mm leftover strip often looks like an error even when technically installable.
Check frame projection as well. If the door architrave sits proud of the wall, the panel thickness and return detail must be coordinated.
Edge type: panel meeting a window reveal
Windows introduce returns on several sides. Decide whether the decorative panel stops at the face wall or continues into the reveal. Continuing can create a rich framed effect but adds cutting and corner complexity.
Also consider curtains, blinds and tracks so the finished build-up does not interfere with operation.
Edge type: panel above skirting
Many walls already have skirting. The panel can stop above it, sit behind/over a coordinated base detail, or use another planned junction depending on the system.
The vertical alignment should be consistent across the room. Random gaps between panel and skirting are noticeable from close range.
Edge type: panel meeting the ceiling
A full-height feature must resolve the top line. Check false ceiling levels, coves, shadow gaps and curtain pockets. If the ceiling is uneven, copying its irregularity can make the panel edge look wavy.
Sometimes a controlled top margin or trim gives a cleaner line than forcing the panel directly into an imperfect ceiling.
Edge type: panel beside a mirror
Mirror and decorative panels create a strong contrast between reflection and texture. Decide whether the mirror overlaps the panel, sits flush in a framed opening or is installed on a separate plain zone.
The supporting structure should carry the mirror appropriately. Decorative panel surfaces should not be assumed to provide structural support.
Edge type: panel beside stone or large-format slab
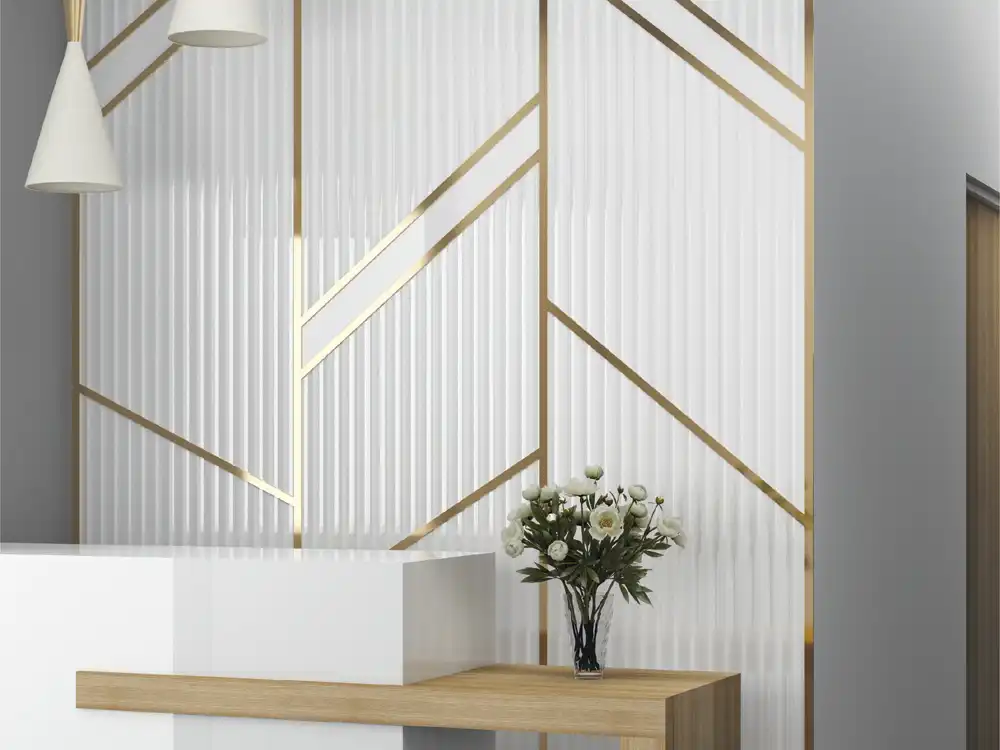
Two premium materials meeting directly need a deliberate joint. Their thicknesses may differ, so the detail might use a shadow gap, slim metal separator or stepped transition.
A perfectly flush junction may require substrate planning. Do not rely on installers to “make it match” on site without a section detail.
Edge type: panel beside paint
This is one of the cleanest transitions when handled intentionally. The panel can finish with a defined end profile, while the painted wall remains calm.
Choose the paint colour with the panel edge visible. A high-contrast paint will emphasise the thickness; a similar tone can soften it.
Edge type: panel around a television or screen
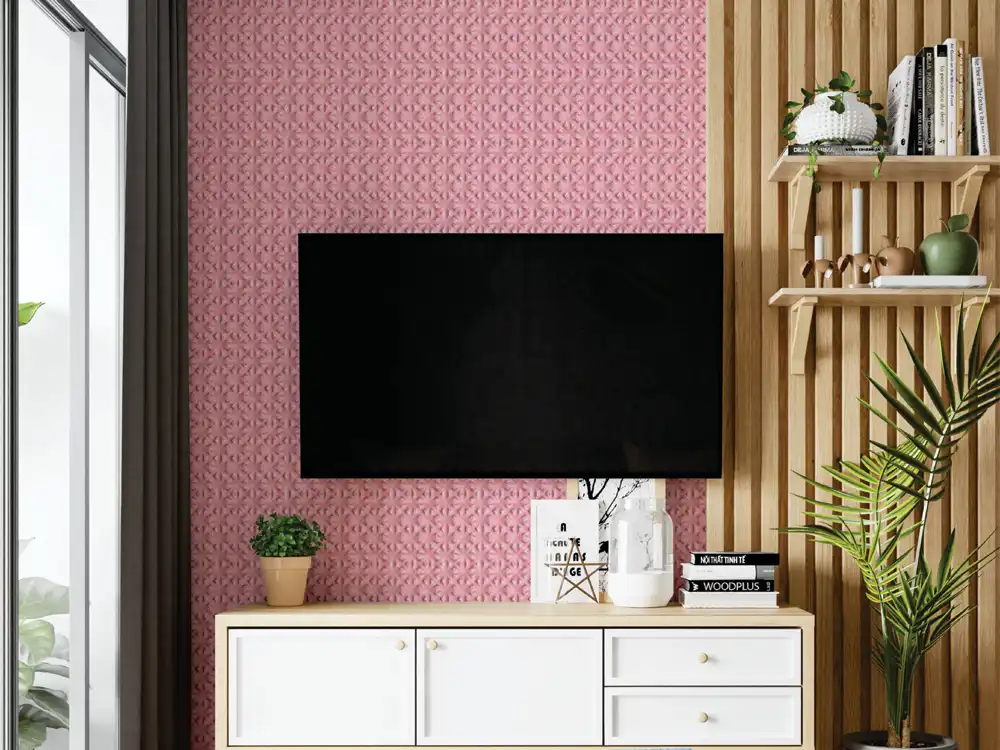
Screens often need a smooth mounting zone, cable path and ventilation/access. Instead of cutting panels randomly around the bracket, define a central insert or backing area before installation.
The edge around that insert becomes part of the design and should be symmetrical or intentionally offset.
Edge type: panel around switches and controls
Small electrical plates can disrupt grooves and patterns. Coordinate their locations early. Where possible, place controls in a calmer zone or align them with the panel module.
Never compromise electrical access for visual continuity. Serviceability comes first.
Edge type: panel meeting built-in furniture
Wardrobes, consoles and cabinets may touch the feature wall. Decide whether the furniture is installed before or after the panels and how the side gap is finished.
A lopsided filler strip between cabinet and panel usually indicates the two were designed independently.
Edge type: partial-height top termination
When panels stop at 900 mm, 1,200 mm or another partial height, the top edge becomes highly visible. A cap, trim, shelf or framed finish may be appropriate depending on the product.
Use a level reference across the room. A partial-height line that drifts is easier to notice than a small error near the ceiling.
Edge type: transition between two panel designs
If two textures meet, decide whether the change is direct or separated by a plain/metal band. Direct transitions work best when dimensions and visual rhythms align. Otherwise, a deliberate separator can prevent the joint from feeling accidental.
The Fresco Panels collection can be reviewed for coordinated finishes that share a compatible visual language.
Draw sections, not just elevations
An elevation shows where materials meet; a section shows how thick they are. Edge finishing becomes much clearer when the designer draws a small cross-section through the panel, substrate, adjoining material and trim.
Even a simple hand sketch can prevent site improvisation.
Build one edge mock-up for complex projects
If a reception or hotel lobby contains several transitions, mock up the most difficult junction before bulk installation. It is cheaper to correct one corner on a sample than repeat an unresolved detail through the project.
FAQs
Do decorative wall panels always need trims?
No. The correct edge depends on the product, installation system and design. Some applications use trims; others use framed, mitred or material-transition details.
How should wall panels finish at a door?
Plan the final panel module against the door frame and coordinate panel thickness with the frame or architrave. Avoid leaving an accidental narrow cut.
Can panels wrap around corners?
Some systems can create wrapped corner treatments, but the exact method should be confirmed for the selected product and installation detail.
Why are edge details important for quantity planning?
Returns, trims, balanced cuts and corner pieces can affect how much material is required. Quantity should be calculated after the junctions are understood.
The wall is judged where the material stops
Good wall panel edge finishing turns a decorative surface into an architectural detail. Resolve every end, corner, opening and material change before installation, and the centre of the wall will look cleaner because its boundaries make sense.
Explore Mark Decor’s Fresco Panels range and a suitable Fresco Panels collection. For project detailing, contact Mark Decor with the wall elevation and the junctions you need to resolve.