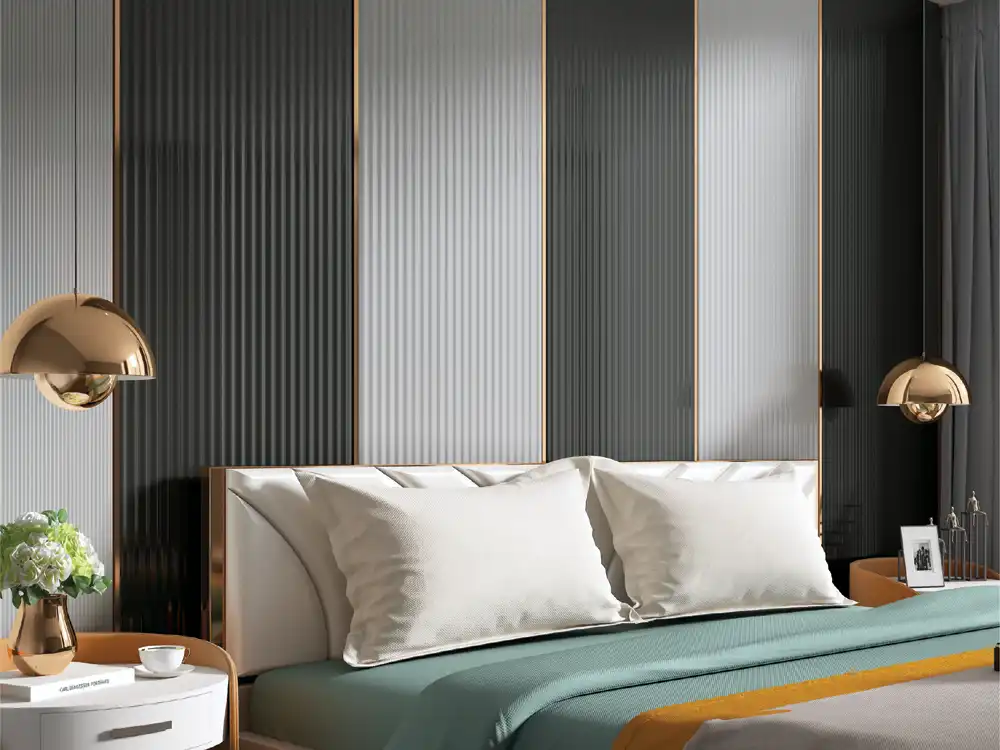

Dining-room louver ideas designed around the table, crockery unit, artwork, mirrors and lighting rather than the usual TV-wall treatment.
The dining room is one of the easiest spaces to over-design. A table, chairs, crockery storage, pendant light, artwork and serving pieces already create visual activity. The best louver design for dining room interiors therefore does not try to cover every wall. It gives one surface a clear rhythm and allows the furniture to remain the centre of the room.
This guide moves beyond the usual TV-unit formula. It looks at six dining-wall situations and shows how louvers can solve each one differently. To see the current product direction before planning your wall, browse Mark Decor’s Louvers category and the Infinite subcategory.
Scenario 1: The wall directly behind the dining table
This is the most natural feature-wall location because it is visible when the table is approached and often frames the main dining setting. A full louver wall can work in a large room, but a controlled central panel is usually easier to balance. Align the louver field with the table centreline or with a pendant light rather than with the entire wall width. The result feels composed even when the room is asymmetrical.
For a six-seater table, consider leaving calm painted margins on both sides. Those margins can visually separate the feature from a door, passage or corner. Darker louvers create a stronger backdrop for light upholstery, while mid-tone wood looks often suit warm, relaxed dining schemes. Always judge the sample next to the actual table finish if it has already been selected.
Scenario 2: A crockery or buffet unit needs a backdrop
A dining sideboard can appear visually detached when it sits against a plain wall. Louvers give it an architectural background without requiring a large piece of art. One useful composition is to run the louvers only from the top of the buffet to the ceiling, keeping the lower wall simpler. Another is to create a floor-to-ceiling band slightly wider than the cabinet.
Keep electrical points, wall lights and cabinet shutters in mind before deciding the louver edges. If a tall crockery unit opens close to the wall, confirm that the decorative treatment does not interfere with door movement or handles.
Scenario 3: You want a mirror without making the wall feel formal
A mirror can make a dining room feel brighter and more open, but a large uninterrupted mirror can also feel hard or overly formal. Louvers can soften the composition. Try a vertical mirror panel with a louver band on one side, or place a mirror in the centre with equal louver strips at both edges. An off-centre mirror can also work if it aligns with the dining table or buffet rather than the wall itself.
The key is to choose one dominant rhythm. If the mirror is narrow and vertical, keep the louver lines vertical too. If the mirror is wide, use the louvers as side frames rather than adding many small decorative divisions.
Scenario 4: The dining wall carries artwork
Artwork and louvers can coexist, but the wall needs a visual hierarchy. A detailed painting placed on a highly textured, closely spaced background may lose impact. Instead, use the louver field as a frame zone and keep the artwork itself on a smoother insert panel or plain wall section. You can also use louvers on only one third of the wall and leave the remaining surface for art.
Before drilling or fixing artwork, confirm the mounting method with the installer and consider the weight and wall substrate. Decorative louvers should not be treated as structural support for heavy pieces unless the fixing is designed to reach the appropriate backing.
Scenario 5: Dining and living areas share one long wall
Open-plan homes often have a continuous wall running through the living and dining zones. Covering the entire length can make both spaces feel visually flat because there is no transition. A better strategy is to use the louver treatment as a dining “marker.” Start it close to the dining table and stop it before the living-room composition begins.
You can repeat the same finish in a smaller detail elsewhere—perhaps on a console or another narrow wall—without copying the entire feature. This creates connection between zones while preserving identity.
Scenario 6: The dining area is compact
Small dining spaces benefit from restraint. Use a narrow vertical band, half-wall composition or a louver-backed niche rather than a full dark wall. Lighter tones and measured spacing can keep the surface from feeling heavy. If the table is pushed near the wall, also consider practical cleaning and chair movement; a feature should not turn into a fragile obstacle.
Choose the louver proportion before the colour
Many homeowners begin by asking which shade looks best. Proportion should come first. Decide the width of the feature, where it begins and ends, and what object it is framing. Then shortlist colours. A beautiful finish applied to the wrong proportion still feels awkward, while a simple finish in a well-composed area can look intentional.
Use painter’s tape on the wall to mock up the louver boundaries. Stand at the entrance, at the kitchen opening and at the main seating position. Dining walls are seen from several angles, so a composition that looks centred from one viewpoint may feel misplaced from another.
Lighting: graze the texture, do not flood it
Vertical surface rhythm becomes more visible when light falls across it at an angle. A wall washer, nearby pendant spill or controlled spotlight can create depth. Avoid adding decorative lighting merely because the wall has louvers. If the dining table already has a statement pendant, the wall lighting should support it rather than compete with it.
Test the selected louver sample under the intended colour temperature. Warm light can enrich wood-like shades and beige surfaces, while cooler light can make greys appear sharper. The final decision should reflect the actual room.
Use the category structure as a design filter
If you are overwhelmed by choices, narrow the decision in layers. First select the broader Louvers family. Then compare the active Infinite subcategory. From there, shortlist two or three finishes that work with the table, flooring and lighting. This is faster than comparing dozens of unrelated images saved from different sources.
A dining-wall checklist before ordering
- Final table size and position are confirmed.
- The louver feature has a defined start and stop point.
- Switches, sockets and wall lights are plotted.
- Mirror, artwork or buffet dimensions are known.
- A current finish sample has been reviewed in room lighting.
- Quantity includes the real cutting layout, not only wall area.
Frequently asked questions
Are louvers suitable only behind a dining table?
No. They can frame a sideboard, mirror, niche or transition between living and dining areas. The best location is the one that gives the room a clear focal point.
Should dining-room louvers match the dining table?
They do not need to match exactly. A coordinated contrast is often more natural. Compare undertones and overall warmth rather than trying to reproduce the same wood pattern.
Can I use a dark louver finish in a small dining room?
Yes, but control the area. A narrow dark feature with lighter surrounding walls can create depth without making the entire room feel heavy.
How do I estimate quantity for a louver dining wall?
Start with the final wall elevation and the usable width of the selected profile. Include cuts, corners and the actual layout. Confirm the calculation with your installer or supplier before ordering.
Make the dining wall part of the room, not a separate decoration
A successful louver dining wall responds to the table, lighting, storage and circulation. It should look as though it belongs to the room’s architecture rather than being added after everything else. Explore the Mark Decor category and subcategory linked above, shortlist the finishes that suit your dining palette, then review catalogues or contact the team for current product guidance.