Learn how 90° bendable laminates are used to create cleaner furniture corners, what fabricators must plan, and which applications benefit most.
A furniture corner may occupy only a few millimetres, yet it strongly influences how premium the complete unit appears. When the front surface stops at the edge and a separate strip begins, even a close colour match can reveal a line. In contemporary interiors, where large plain shutters and minimal details are common, that line becomes more noticeable. A 90 degree bendable laminate offers an alternative: it allows a decorative surface to travel from the face around a prepared corner, creating a visually continuous edge.
This capability is especially relevant for kitchen shutters, wardrobes, drawers, counters, study units and retail furniture. However, “bendable” should never be interpreted as “can be folded anywhere by hand.” A reliable result requires the correct product, geometry, machinery, adhesive and application sequence. This guide explains what the term means and how to specify the detail responsibly.
What does 90° bendable mean?
In furniture surfacing, 90° bendable generally refers to a laminate engineered to form around a right-angle edge when the substrate is prepared according to the manufacturer’s method. The décor remains on the outside of the bend while the inner side of the sheet accommodates the change in direction. Depending on the system, the fabricator may machine a controlled profile or groove, apply adhesive and use pressure to form the surface around the edge.
The phrase describes a capability, not a universal installation recipe. Different product families may require different groove depths, radii, temperatures, adhesives or tools. A sheet that works for a soft 90-degree furniture edge may not be approved for a sharp fold, reverse bend, compound curve or on-site hand forming. Always use the current technical instructions for the exact product.
Why seamless edges matter in modern interiors
Minimal furniture design relies on proportion, alignment and surface quality. When ornament is reduced, construction details become more visible. A clean edge can make a simple shutter look considered, while a poorly aligned edge band can distract from an otherwise expensive kitchen. Continuity is particularly effective with solid colours, muted pastels, dark matt tones and subtle textures because the eye follows the form rather than a strong printed pattern.
Seamless does not necessarily mean that the whole unit has no joints. Doors must still open, panels meet and hardware requires clearances. The objective is to remove an avoidable visual interruption on a selected exposed corner. Good design decides where continuity adds value and where a conventional finished edge remains the more practical choice.
Typical fabrication sequence
The exact method should come from the manufacturer, but the general planning sequence helps designers communicate with the workshop:
- Choose a suitable substrate. The board must be stable, dry and appropriate for the intended furniture application.
- Prepare the geometry. The workshop machines the edge or groove to the required dimensions, maintaining a consistent radius and avoiding chipped board fibres.
- Dry-fit the sheet. Grain direction, colour orientation and the position of the bend are checked before adhesive is applied.
- Apply the approved adhesive. Coverage, open time and curing requirements must be controlled.
- Form with even pressure. The sheet is guided around the edge without twisting, stretching the décor unevenly or trapping air.
- Trim and inspect. Corners, ends, rear joints and openings are finished, then checked under normal lighting.
A sample trial is strongly recommended. It confirms whether the selected board, machine setting, adhesive and operator technique are producing a consistent corner before a full batch of shutters is processed.
Best applications for a 90-degree bendable laminate
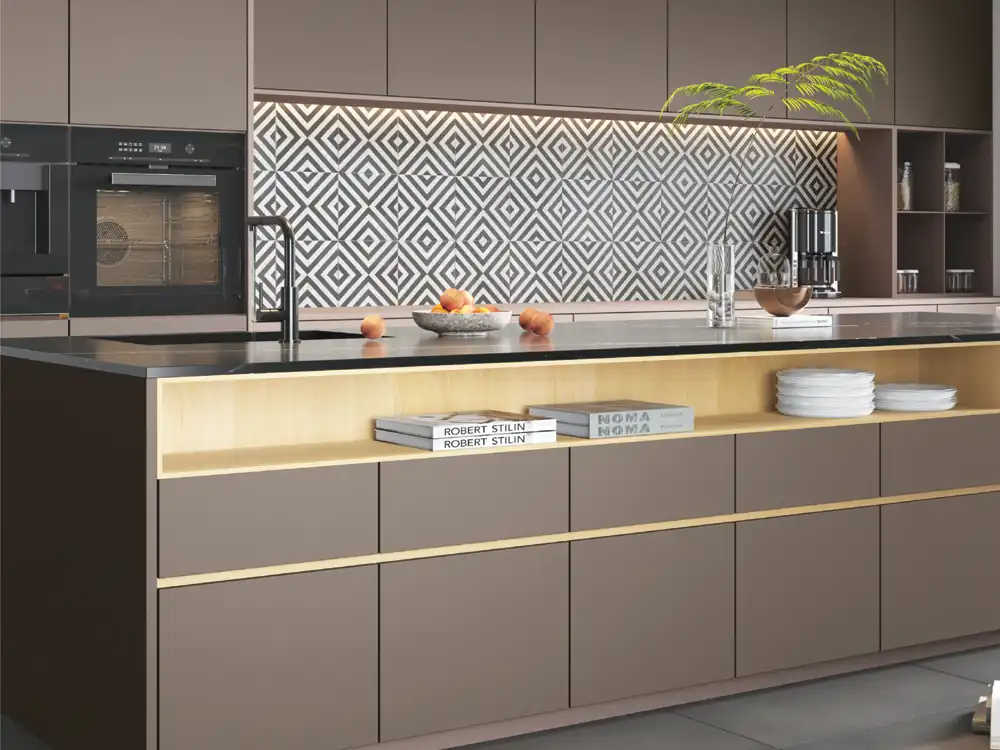
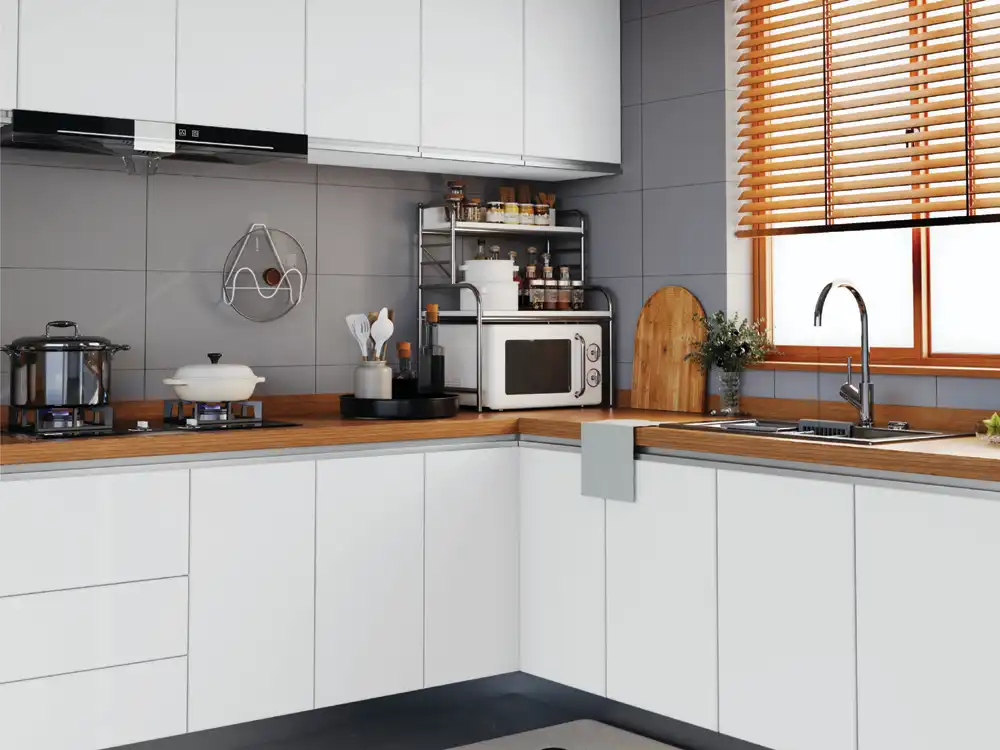
Kitchen cabinet shutters: The front and a selected edge can read as one surface, supporting handleless or profile-handle designs. Tall units and island end panels can particularly benefit because their edges are viewed from multiple directions.
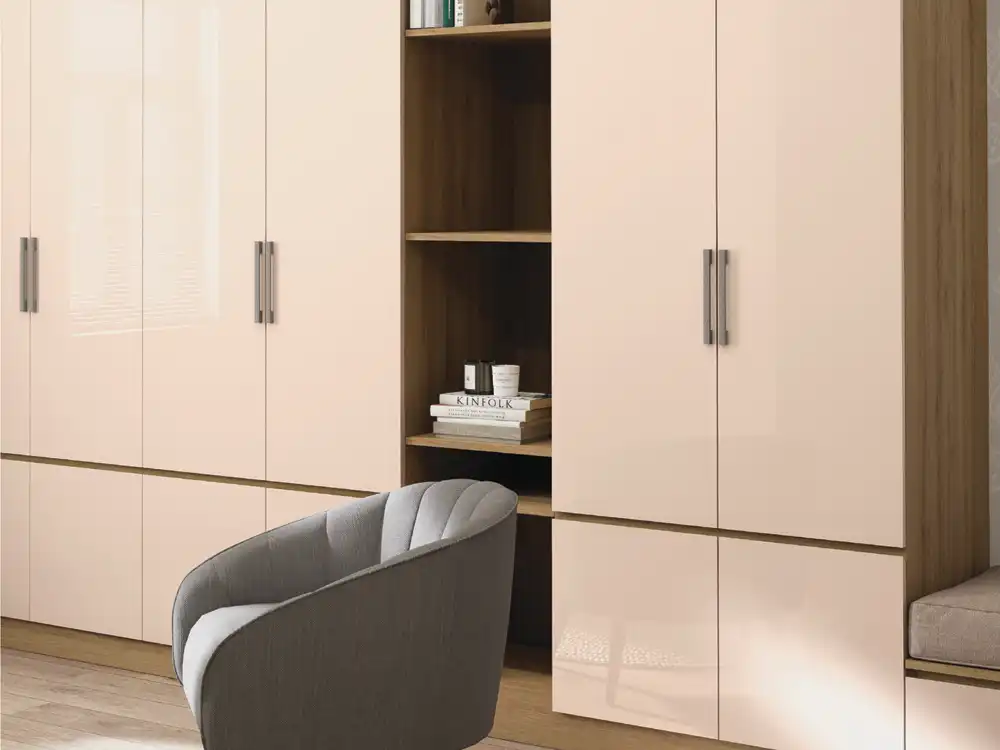
Wardrobe shutters: Large wardrobe elevations expose long vertical edges. A continuous finish can strengthen the clean, full-height appearance and coordinate with side units or dressing tables.
Drawer fronts and bedside units: Small elements are handled frequently and seen at close range. Thoughtful edge detailing improves the tactile impression.
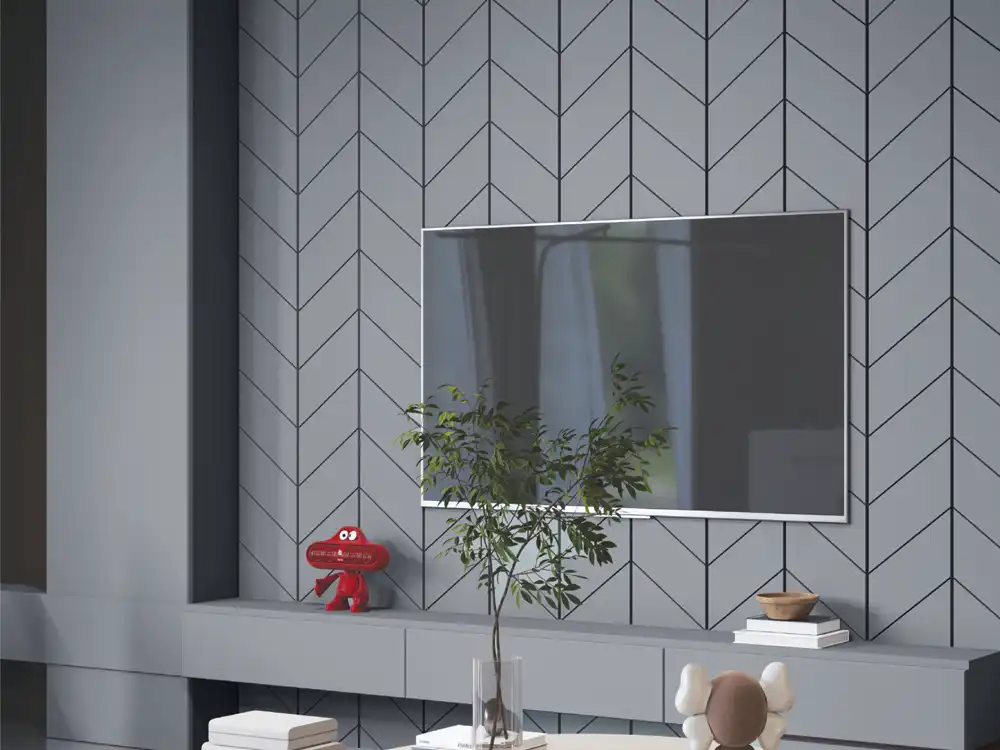
TV units and workstations: Rounded console edges, desk returns and open shelves can use a bendable surface to soften the geometry without introducing a contrasting edge.
Reception and retail furniture: Customer-facing counters are viewed close-up and from different angles. Consistent surfaces help maintain a polished brand environment.
When not to force the detail
A 90-degree wrap is not automatically appropriate for every furniture part. Very tight reverse profiles, compound curves, exterior exposure, continuously wet locations and heat-critical zones may require another material or construction. Shelves with thin unsupported edges, heavily impacted corners or units that need easy local replacement should be evaluated carefully.
It is also unnecessary to wrap every edge. Rear edges, hidden edges and internal cabinet components may be more efficiently finished using conventional methods. Selective use keeps the design purposeful and helps control fabrication cost.
Design decisions that affect the result
Radius: A microscopic-looking sharp corner is not always the most durable or visually comfortable. A controlled small radius can make the transition look intentional and reduce stress concentration. Use the minimum radius approved for the product.
Décor direction: Wood grains, linear textures and directional patterns must be oriented before cutting. The pattern should continue logically around the bend. An incorrect orientation can make the edge look disconnected even when the material itself is continuous.
Colour: Solid and near-solid colours highlight form. Wood designs can create a wrapped block effect, but pattern scale and grain movement should be reviewed on a full-size sample. Very dark surfaces reveal dust and handling differently from light tones.
Hardware clearance: Hinges, channels, profiles and handles must not conflict with the wrapped edge. The drawing should include final surface thickness, not only the raw board dimension.
Quality checklist for architects and homeowners
- The corner line is straight and consistent across all shutters.
- There are no cracks, whitening, bubbles or lifted areas at the bend.
- The décor is not stretched or visually distorted.
- The rear termination is neat and does not interfere with hardware.
- Matching shutters have the same radius and grain direction.
- Adhesive residue has been removed without damaging the finish.
- Exposed substrate is sealed or finished as required.
90° bendable laminate versus edge banding
Edge banding is a proven, economical and serviceable way to finish boards. It remains the right choice for many interiors. It can also be used intentionally in a contrasting colour. The bendable-laminate approach is selected when the front-to-edge continuity has greater design value than a separate edge treatment.
Compare the complete installed cost rather than only the sheet price. Bendable systems may reduce a separate visible edge material on one side but can require specialised machining and skilled labour. Edge-banded construction may be faster in a high-volume automated setup. The better option is the one the workshop can execute consistently for the chosen design.
How to brief your fabricator
Provide a simple detail drawing showing which edge must be wrapped, the intended radius, décor direction and visible joint location. Mention the exact Thermolam design code and approved substrate. Ask for one labelled sample and retain it as a quality benchmark. For large projects, approve a complete prototype shutter before production.
Do not accept substitutions based only on similar colour. Two surfaces can look alike but behave differently during machining and forming. Any substitute should be tested and formally approved.
Conclusion
A 90° bendable laminate is valuable because it turns an ordinary furniture corner into a deliberate design feature. When used selectively, it can create smooth visual transitions, improve colour continuity and support the clean geometry expected in contemporary interiors. The outcome depends equally on product suitability and workshop discipline.
Review AASA Thermolam surfaces, request the current technical guidance and compare a fabricated corner sample before finalising the project. Mark Decor’s catalogue section and project support team can help you begin the selection process.