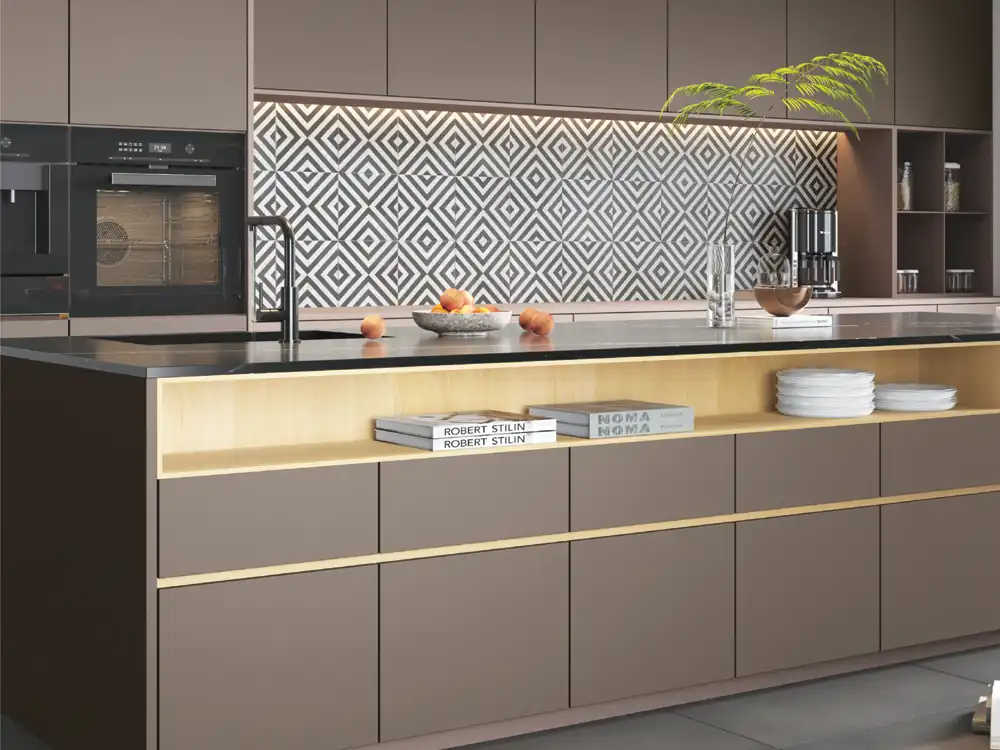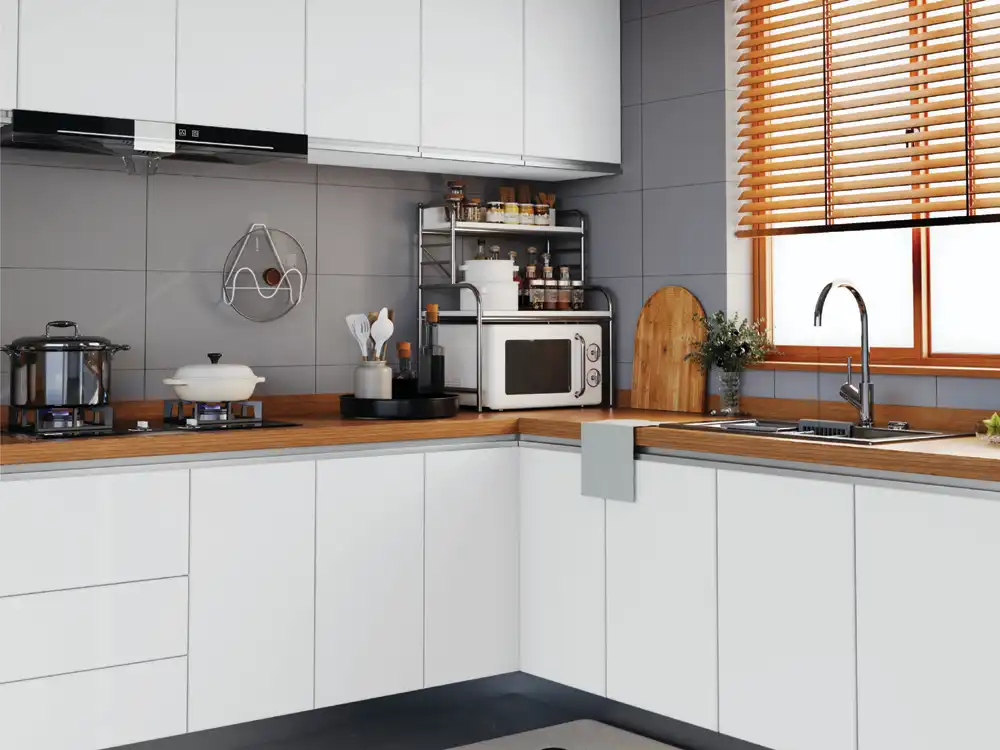
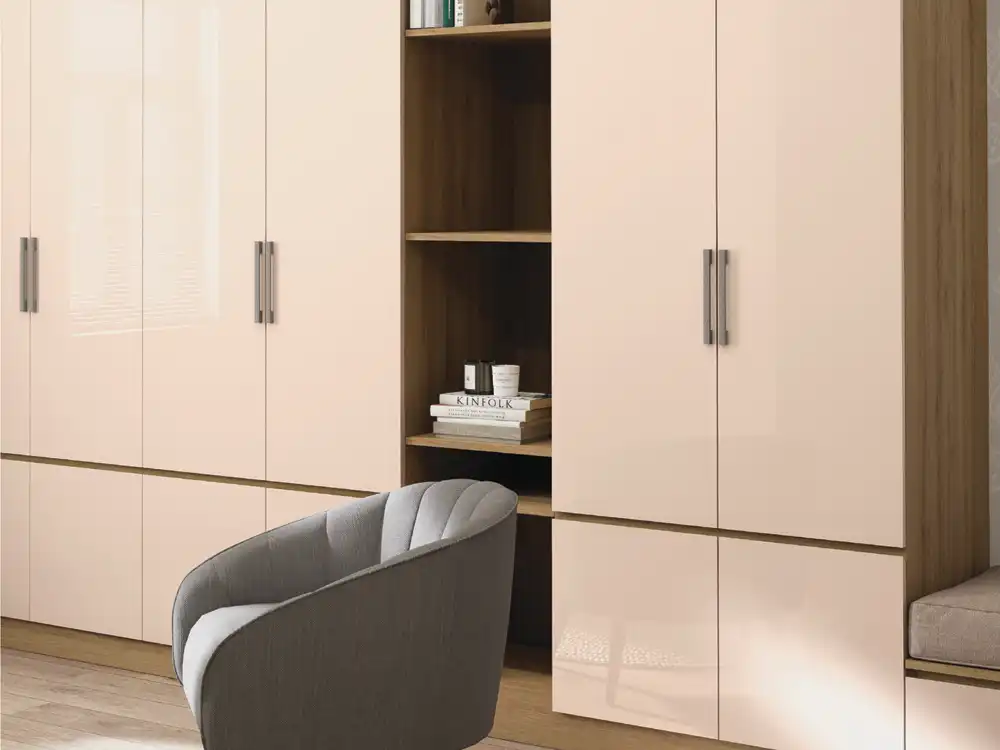
A step-by-step Thermolam fabrication checklist covering substrate preparation, edge profiling, adhesive, bending, quality control and site protection.
The finished appearance of a bendable laminate depends as much on fabrication as on the décor sheet. A premium surface can still show bubbles, stress marks or uneven corners if the substrate is poorly prepared or the process is rushed. A clear Thermolam installation checklist helps designers, contractors and workshop teams coordinate the critical decisions before production begins.
This article is a planning guide, not a replacement for the official instructions supplied with the selected AASA Thermolam product. Exact groove geometry, adhesive, pressure, temperature, bending direction and radius may vary. Where the product-specific guide differs from a general practice, the product-specific guide should be followed.
1. Confirm the application
Identify the furniture component and the exact edge that will be wrapped. Record whether the application is a kitchen shutter, wardrobe door, drawer, counter, shelf return or curved panel. Note expected water, heat, sunlight and impact exposure. A product suitable for an indoor wardrobe edge should not be assumed suitable for every location.
Create a simple drawing showing face, side, rear termination, radius, grain direction and hardware. This prevents the workshop from interpreting “seamless edge” differently from the designer.
2. Verify product and quantity
Check brand, collection, design code, finish, sheet size, thickness and batch information where available. Compare the delivered surface with the approved sample before cutting. Calculate quantity with allowance for grain direction, trial pieces and production wastage.
Keep sheets protected and stored according to supplier guidance. Sudden changes in site conditions, moisture or temperature can affect boards and adhesives as well as decorative surfaces.
3. Select a compatible substrate
The board must be flat, dry and stable. Its density and edge quality should support accurate machining. Loose fibres, voids, swelling or chipped corners can telegraph through the final surface. For tall shutters, board construction and hardware must also control warping.
Where balancing is required, the reverse side should receive an appropriate surface. Applying a decorative face to only one side can create uneven stresses in some panel constructions. Follow the board and laminate recommendations.
4. Prepare tools and a clean work area
Use sharp, correctly set cutting and profiling tools. Dull tools tear the board and create an inconsistent radius. Ensure dust extraction is effective because dust reduces adhesive contact and can form bumps under the surface.
The pressing area should be clean, flat and large enough to support the complete component. Prepare clamps, rollers, forms or other pressure equipment before adhesive is applied. Searching for tools during open time increases the risk of failure.
5. Make a trial piece
Never begin with the most expensive or visible shutter. Use an offcut of the actual substrate and Thermolam design to create a representative edge. The trial should use the intended adhesive, groove setting and pressure method.
Inspect the trial after full curing, not only immediately after forming. Some bonding problems appear later. If the corner shows whitening, cracking, lift or uneven radius, adjust the process and repeat until a stable benchmark is achieved.
6. Plan décor and grain direction
Mark the face and orientation on every cut piece. Woodgrains and linear textures should continue logically around the edge. Adjacent shutters may need sequence matching or a common direction. Even solid colours can have a subtle texture direction that changes under light.
Plan the cutting layout before machining. A late rotation to save material can make the grain inconsistent across an elevation.
7. Machine the edge accurately
Create the groove, profile or radius using the exact settings established in the approved trial. Measure regularly during a production batch. Tool wear and board variation can slowly change the result.
The transition should be smooth without a step between flat and curved areas. Sand or refine only as approved; excessive hand sanding can create an irregular radius. Remove all dust before bonding.
8. Dry-fit before adhesive
Place the sheet on the board and verify alignment, overhang, bend position and rear termination. Confirm that the material can move through the intended path without obstruction. Mark reference lines that remain visible during application.
Dry-fitting is especially important on long shutters and directional designs. Once adhesive becomes active, repositioning may be difficult or impossible.
9. Use the approved adhesive system
Adhesive compatibility is critical. Follow the recommended product, application coverage, open time, temperature and curing period. More adhesive is not necessarily better; uneven or excessive application can create bumps, bleed or slow curing.
Mix two-part products in the correct ratio and quantity. Use clean spreaders or rollers. Apply consistently to corners, where poor coverage can cause later lifting.
10. Form with controlled pressure
Begin from the reference face and guide the laminate towards the bend without trapping air. Maintain alignment while pressure is applied around the radius. Do not force the sheet sharply or create a local crease. Use the approved form, roller or clamping method to distribute pressure evenly.
On long edges, work systematically so one section does not cure before the next is positioned. Adequate operators and prepared equipment make a major difference.
11. Maintain pressure and curing conditions
Keep the component supported through the required curing time. Removing clamps early can allow the laminate to spring away from the edge. Avoid moving the panel into a dusty or very humid site environment before the bond is stable.
Record curing times and conditions for repeat production. Consistency is essential when dozens of shutters must match.
12. Trim and finish carefully
Use sharp trimming tools and support the wrapped corner. Avoid cutting into the visible face or creating a notch that can start a crack. Finish rear and end joints neatly. Seal or cover all remaining exposed substrate edges according to the furniture specification.
Clean adhesive residue only with methods approved for the surface. Aggressive solvent can permanently alter sheen or colour.
13. Inspect each component
- Face remains flat and free of bubbles.
- Radius is straight and consistent.
- No cracks, whitening or stress marks are visible.
- Décor direction matches the approved drawing.
- Rear termination is neat and clear of hardware.
- Overall dimensions include the final surface build-up.
- Matching parts align when placed together.
Inspect under normal and side lighting. Photograph accepted pieces and isolate rejects before hardware installation.
14. Drill and install hardware with care
Use drilling templates and avoid placing screws too close to a machined edge. Hinges, channels and handles should not stress or rub against the wrapped surface. Clean drill dust before packing.
Install and adjust the complete shutter set so gaps are uniform. Misaligned doors can strike each other and damage edges even when the surface was fabricated correctly.
15. Protect during transport and site work
Wrapped corners can project beyond a flat board stack. Use edge protectors, soft separators and rigid packaging. Do not place heavy hardware or tools directly against finished faces. Label packages with orientation and room location to reduce unnecessary handling.
At site, install after wet works are complete and the area is reasonably clean. Protect furniture while countertops, appliances and electrical fittings are being completed.
Troubleshooting common defects
Cracking or whitening at the bend: radius may be too tight, groove geometry incorrect, material orientation wrong or forming too abrupt.
Bubbles on the face: possible dust, uneven adhesive, trapped air, poor pressure or substrate contamination.
Edge lifting after curing: possible adhesive incompatibility, insufficient coverage, early pressure removal or excessive stress.
Wavy corner: inconsistent machining, hand-sanded radius or uneven pressure.
Colour mismatch: wrong design code, different batch, changed orientation or lighting difference.
Do not attempt a cosmetic repair until the cause is identified. Otherwise the defect may return across the production batch.
Documentation for repeat projects
Record the successful board type, tool setting, groove dimensions, adhesive batch, application rate, open time, pressure method and curing duration. Keep a labelled physical sample. For dealers and fabricators, this process record becomes a valuable reference for repeat orders and staff training.
Conclusion
Thermolam installation is a coordinated fabrication process. Careful drawings, a compatible substrate, accurate machining, approved adhesive and disciplined pressure are all required to create a clean 90-degree edge. A sample-first approach is the simplest way to protect quality and budget.
Use the current AASA Thermolam guidance for the selected design and involve the material supplier before unusual applications. Visit Mark Decor Catalogues or contact Mark Decor for collection and project information.