Discover how flexible laminates can be used for rounded furniture, counters, TV units and retail interiors, with geometry and fabrication guidance.
Curves have returned to contemporary interiors in a quieter and more practical form. Instead of highly ornamental shapes, designers are using softened corners, rounded islands, capsule tables, curved reception counters and gently profiled storage. These details make rooms feel less rigid and can improve movement around furniture. Flexible laminates for curved furniture help translate that design language into a durable decorative surface, provided the selected sheet and geometry are compatible.
Not every flexible laminate can form every curve. A 90-degree furniture edge, a broad convex panel and a compound three-dimensional shape are different fabrication challenges. Successful specification begins by classifying the curve, checking the approved radius and building a prototype.
Why curves are useful, not only decorative
A rounded corner can soften the visual mass of a cabinet and reduce the feeling of sharp obstruction in a narrow passage. Curved counters guide movement in retail and hospitality spaces. A rounded desk return can make a compact workstation more comfortable. Curves also reflect light gradually, giving plain colours and subtle textures more visual depth.
The goal should be purposeful geometry. Adding curves everywhere can make production complex and dilute their impact. Use them to resolve circulation, highlight a focal element or connect two furniture planes.
Types of curves in furniture
Wrapped 90-degree edge: The most common Thermolam-type detail. The surface moves from the face around a small-radius corner to the side.
Broad convex curve: A panel bows outward over a large radius, as seen on reception counters or rounded island ends. The substrate may be built from flexible board, kerfed board or formed components.
Concave curve: The surface bends inward. Adhesive pressure and access can be more difficult, so the product and process must be tested.
Cylindrical wrap: A column or rounded pedestal uses a consistent radius. Sheet width, joint location and pattern repeat are important.
Compound curve: The surface changes in more than one direction. Many flat sheet products are not suitable for true compound forming. Another material or a segmented construction may be needed.
Where flexible laminates can be applied
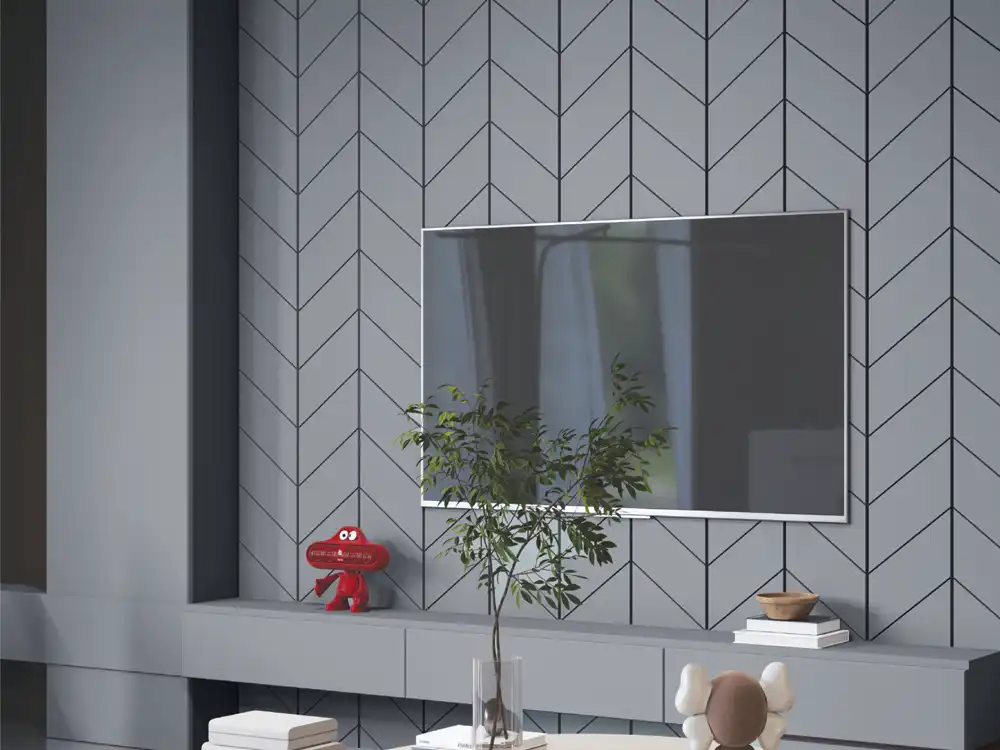
TV consoles: Rounded side returns can make a long console appear lighter and safer in a living room. A continuous wood or solid colour reinforces the furniture-like quality.
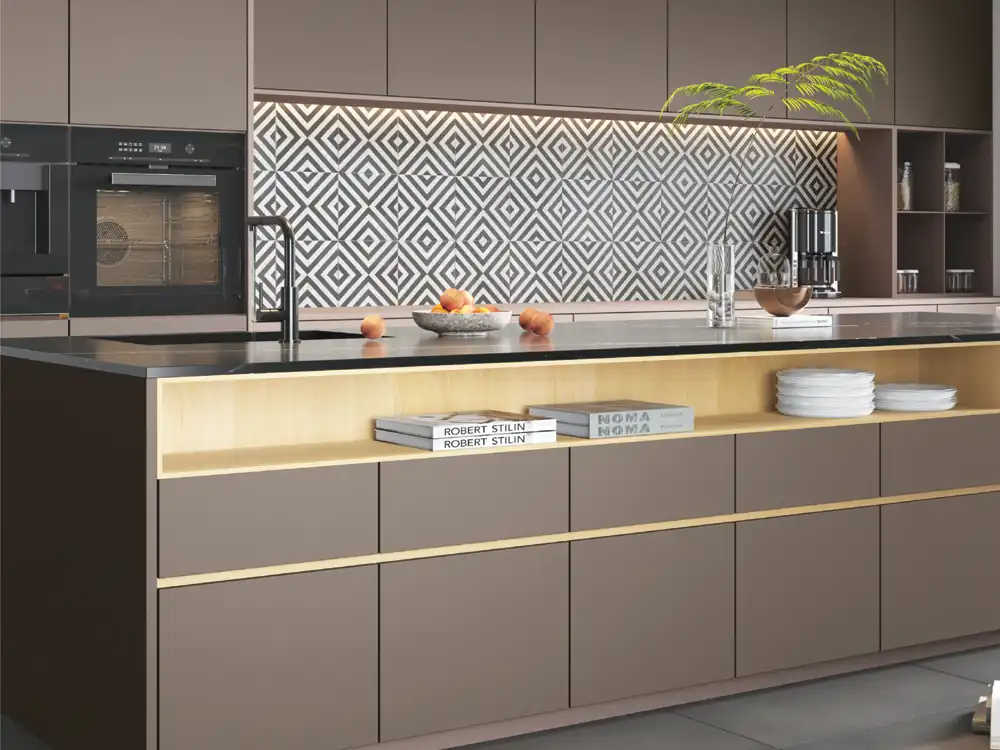
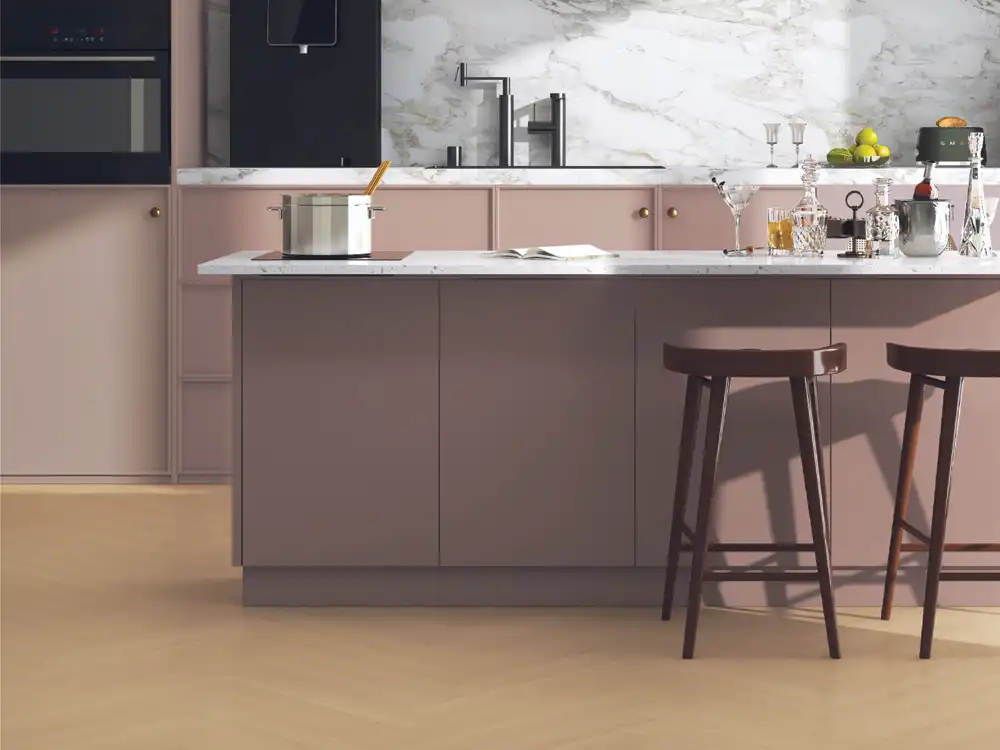
Kitchen islands: A curved end panel can improve circulation around the island and create a focal point. Heat, water and countertop junctions must be detailed carefully.
Reception desks: Curves help direct visitors and create a welcoming front. Commercial impact exposure and repair access should be considered.
Retail displays: Rounded plinths, shelves and product counters can support circulation and brand identity. Repeated modular components require consistent templates.
Office furniture: Meeting tables, collaboration benches and storage ends can use softened corners for a less formal environment.
Bedroom furniture: Bedside units, dressers and wardrobe end panels can repeat a gentle radius for a coordinated scheme.
Choosing the right radius
The radius controls both appearance and manufacturability. A very small radius looks crisp but places more stress on the surface and demands more accurate machining. A larger radius feels softer and is generally easier to form, but it changes furniture dimensions and may require a custom substrate.
Never choose the radius from appearance alone. Confirm the minimum approved radius for the exact laminate and direction of bend. Build the prototype at the final scale because a small hand sample may not reveal how a long panel behaves.
Substrate construction
A flexible surface does not create the underlying curve by itself. The substrate must provide a stable, smooth form. For a wrapped edge, the board may be grooved or profiled. For broad curves, the workshop may use flexible plywood, layered thin boards, kerfed MDF, ribs with skin panels or CNC-shaped components.
The surface will reveal imperfections beneath it. Uneven ribs, open kerfs, sharp transitions and adhesive build-up can telegraph through the laminate. Sanding, filling and dust removal are essential. The substrate should be balanced where required to reduce warping.
Pattern and grain on a curve
Solid colours are straightforward because they emphasise form without pattern alignment. Fine textures add tactile interest and allow light to move across the curve. Woodgrains require more planning. A vertical grain on a rounded cabinet end can reinforce height, while horizontal grain can visually stretch the element.
Large stone or abstract patterns may distort visually as they turn away from the viewer. Check a full-size printed layout or wrap a sample around the intended radius. Decide where the sheet joint will fall; place it in a less visible area and align patterns where possible.
Convex versus concave application
Convex curves allow the sheet to be pressed from the centre outward, and tension can help keep the surface smooth. Concave curves require pressure into the recess and may trap air if the method is not controlled. A membrane press, form, vacuum process or custom clamping may be needed depending on the system.
Do not assume that a product approved for an outside 90-degree edge is automatically approved for an inside concave curve. Request written guidance and test the exact condition.
Joining curved and flat sections
The transition between a curve and a flat plane should be gradual and accurately aligned. A sudden change in substrate thickness can create a ridge. If two sheets meet, the joint should be placed deliberately and supported beneath. The designer should consider how the joint looks from the main approach direction, not only in elevation.
Countertops, skirting, handles and lighting channels must follow or terminate against the curve cleanly. Resolve these interfaces in the drawing before fabrication.
Fabrication workflow
- Create a dimensioned template for the curve.
- Build and stabilise the substrate.
- Prepare a small trial using the actual surface and adhesive.
- Confirm pattern direction and joint position.
- Apply adhesive evenly to both compatible surfaces as specified.
- Form the laminate with controlled pressure, avoiding trapped air.
- Maintain pressure through the required curing period.
- Trim, finish and inspect under side lighting.
Common causes of failure
Radius too tight: the sheet may crack, whiten or lift.
Uneven substrate: ridges and hollows become visible through the surface.
Incorrect adhesive: poor compatibility or curing can lead to bubbling and edge release.
No allowance for spring-back: the substrate or sheet may resist the intended shape after pressure is removed.
Pattern selected too late: grain can run in an awkward direction or joints may land on the most visible face.
Insufficient protection: curved corners may be struck during transport because they project beyond flat packaging.
Maintenance and repair
Clean flexible laminate surfaces according to the product instructions using a soft cloth. Avoid abrasive tools and direct impact. In commercial locations, add concealed protective design measures where trolleys or luggage may hit the base of a curved counter.
Repair strategy should be discussed before construction. A small replaceable plinth can protect a large curved panel. Modularising a long counter into logical sections may make future replacement manageable without compromising the visual concept.
How Thermolam fits the design process
AASA Thermolam can be considered for controlled furniture bends and seamless edge details. Begin with the décor and technical sheet, then draw the geometry around the material’s approved capability. Do not design an arbitrary shape first and assume any sheet can follow it.
Collaboration between designer, supplier and fabricator is particularly valuable for curved work. A sample workshop can resolve radius, joint, colour and tool settings before the project reaches site.
Conclusion
Flexible laminates expand the vocabulary of furniture beyond flat boxes. They can support rounded edges, curved counters, softer islands and sculpted display elements. Their success depends on matching the laminate to the type of curve, constructing a stable substrate and controlling fabrication.
Explore AASA Thermolam for bendable surface possibilities and compare décor samples on a real radius. Download Mark Decor catalogues or contact the team to discuss a project application.